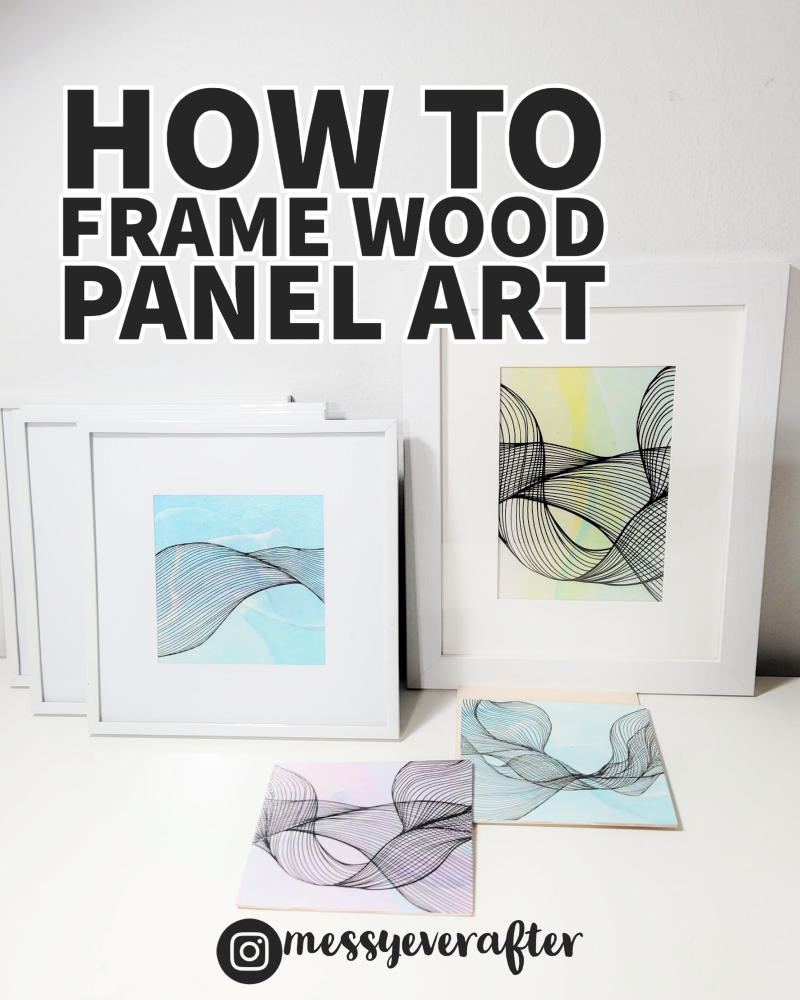
Thin wood panels are a great art surface, but can you frame them?
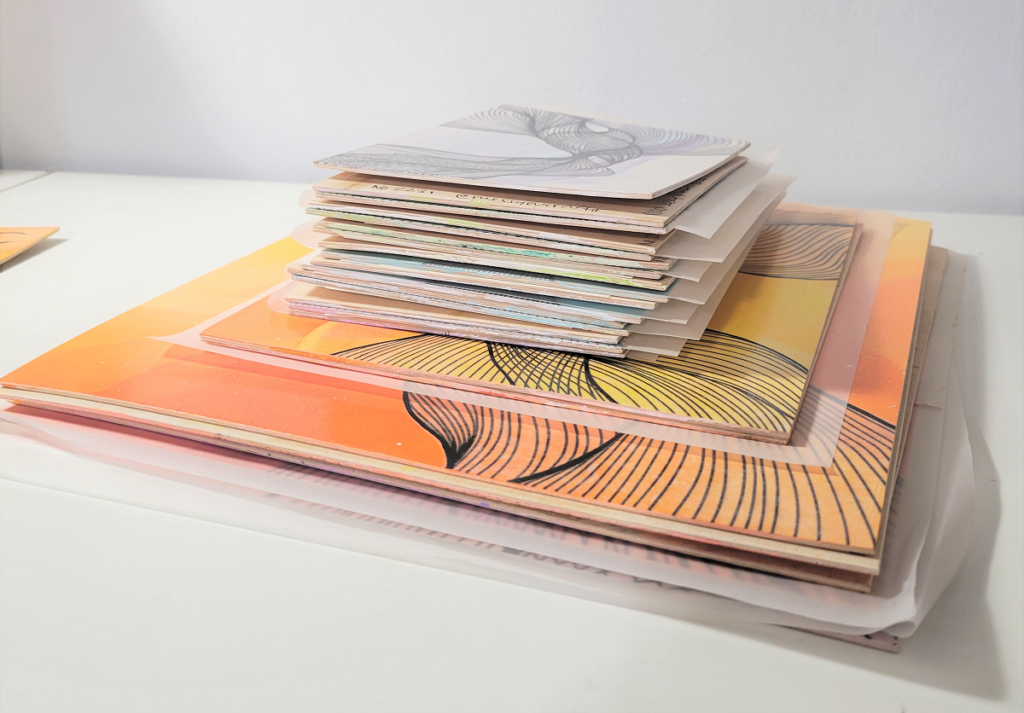
I recently uploaded art made on 3-ply wood panels to my store and they need to be framed (which is probably why you are here!). Since I don’t want you to have to go to a professional to frame these new works of art, I wanted to do a DIY framing post.
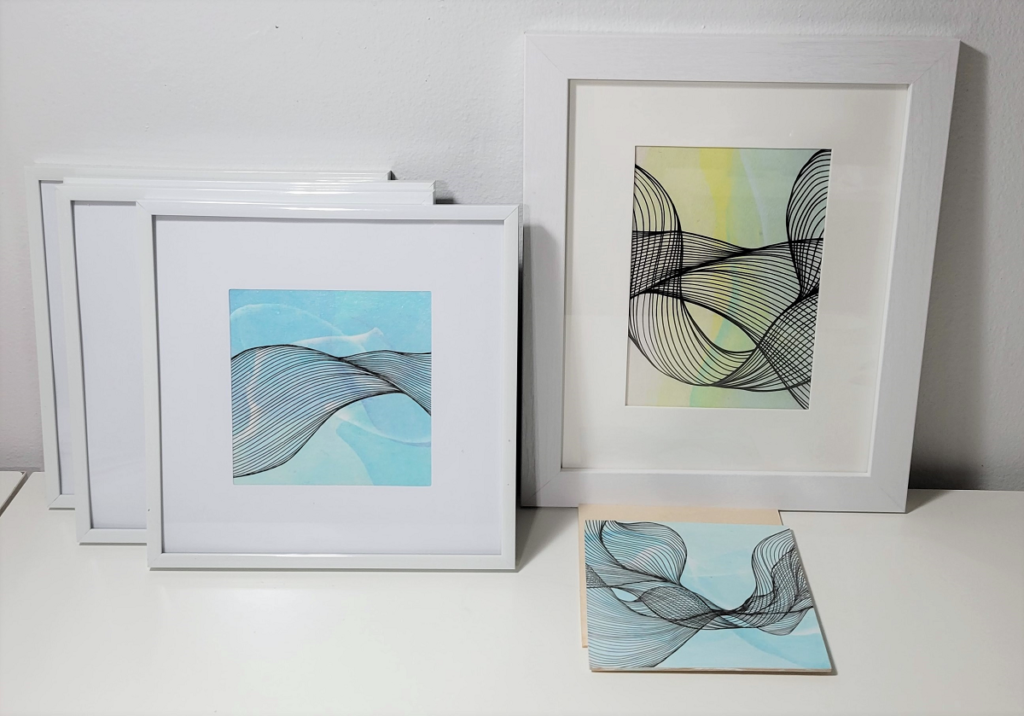
You see, these wood panels are not stable enough to display on their own. Since wood is a natural material and these panels are barely 1/8″ thick, they will warp and bow with changes in humidity if not supported by a frame. Even when I’m painting on the panels, they are a bit wonky, BUT they are easily flattened with just a little pressure and look SO nice in a frame:
Choosing a frame:
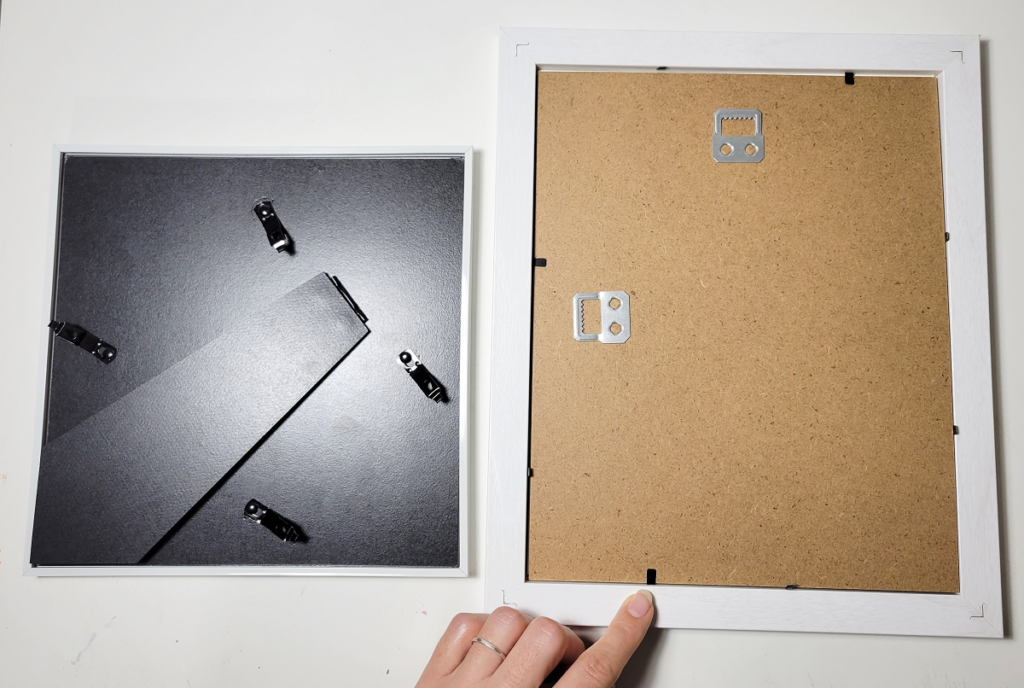
You actually aren’t going to be too limited in finding a frame that will work for these panels. Basically, you just need a frame that has a bit more space between the glass/Plexi and the backing board. Personally, I like the frames with springy sliders like the one on the left or the prongs like the frame on the right. All the frames I’ve played with like this have a good amount of room for mat board layers and thus can support the thickness of the wood panels.
Both of these frames came from Michaels, but you can get suitable frames anywhere, really. I’ll link a couple of Amazon products. I haven’t tried them, but they will give you a place to start. I can’t guarantee that they have enough clearance between the board and glass, but if I were buying online I’d try these frames.
Amazon Links (These links are affiliate links and I will earn a commission if you make a purchase.)
- White 8″x8″ Frame with 5″x5″ mat (also a 12″x12″ option for 8″x8″ sized pieces)
- White 8″x10″ Frame with 5″x7″ mat (11″x14″ option available for 8″x10″ pieces)
What size frame do you need?
Personally, I love frames that allow room for a border. You can choose frames that are the exact dimensions of the piece of art as well, but having at least an inch of clean border around a piece elevates the look of the art. Also, the border gives small pieces a bigger footprint.
For my wood pieces, they are cut to standard sizes like 5″x5″, 5″x7″, 8″x8″, 8″x10″ and 11″x14″. This means you can buy a frame that they will nicely slide into, or you can buy a frame with a standard mat opening. It’s totally up to you.
Frame size examples:
- For 5″x5″ pieces, I suggest square frames 8″x8″ or larger.
- 5″x7″- rectangle frames, 8″x10″ or larger.
- 8″x8″ -square frames, 10″x10″ or larger.
- 8″x10″-rectangle frames, 11″x14″ or larger.
- 11″x14″- rectangle frames, 16″x20″ or larger.
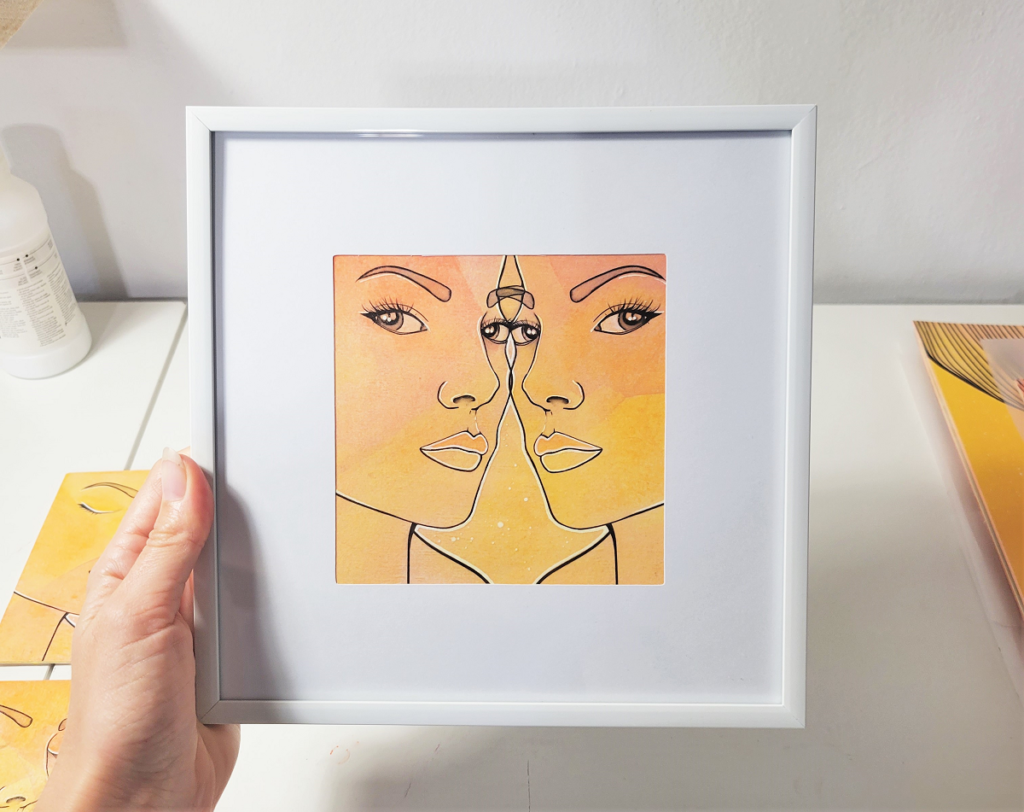
Frame with Mat Board:
These Michaels frames came with mat board, making the process pretty darn simple. All you have to do is tape (use acid-free tape) the wood panel on at least two sides to prevent it from slipping, and voila:
Where to buy mat board:
If your frame doesn’t come with a mat, you can find this sold separately. When art is cut to a standard size, it’s really easy to find mat board. I’ve gotten mat board from Michaels in the past when my frame didn’t come with it, and it’s super affordable. You can also get custom mats cut at any framing store or department.
Read: Tips for Framing & Hanging Your Artwork for Shows
Frame without Mat Board:
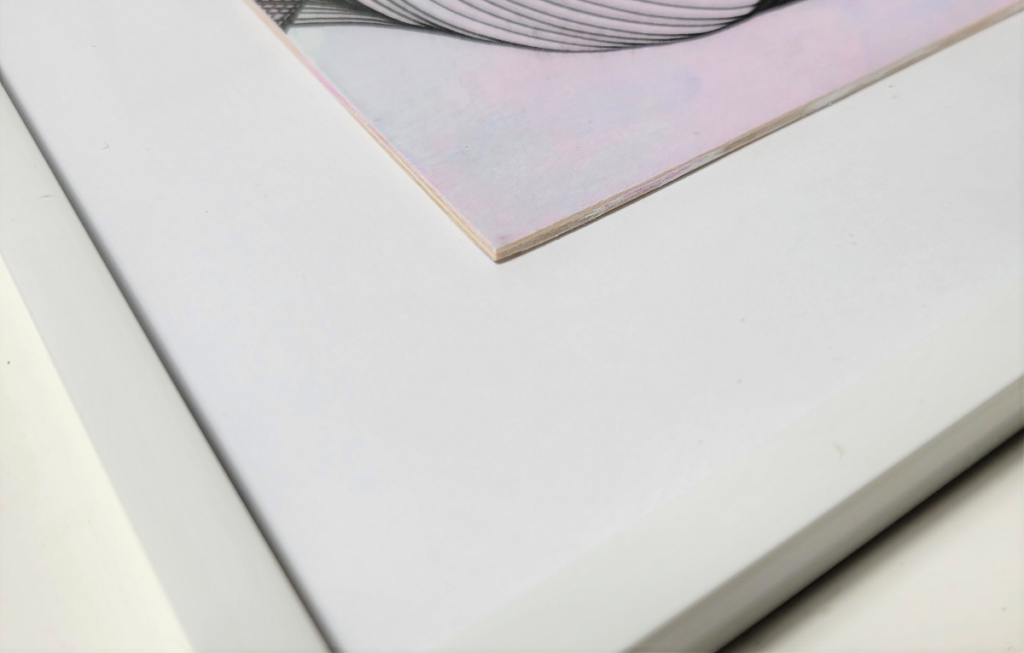
Now, if you want a border but don’t want a mat board, or maybe you have a frame that can’t fit both the mat board and the panel, you can just use a piece of paper behind the art. For the image below, I cut a blank piece of thick paper like cardstock or watercolor paper then centered and adhered the wood panel using acid-free tape. I think I actually like this look most:
Okay, that’s all!
Let me know if you have any questions and feel free to reach out through Instagram or Email.

-Kelly