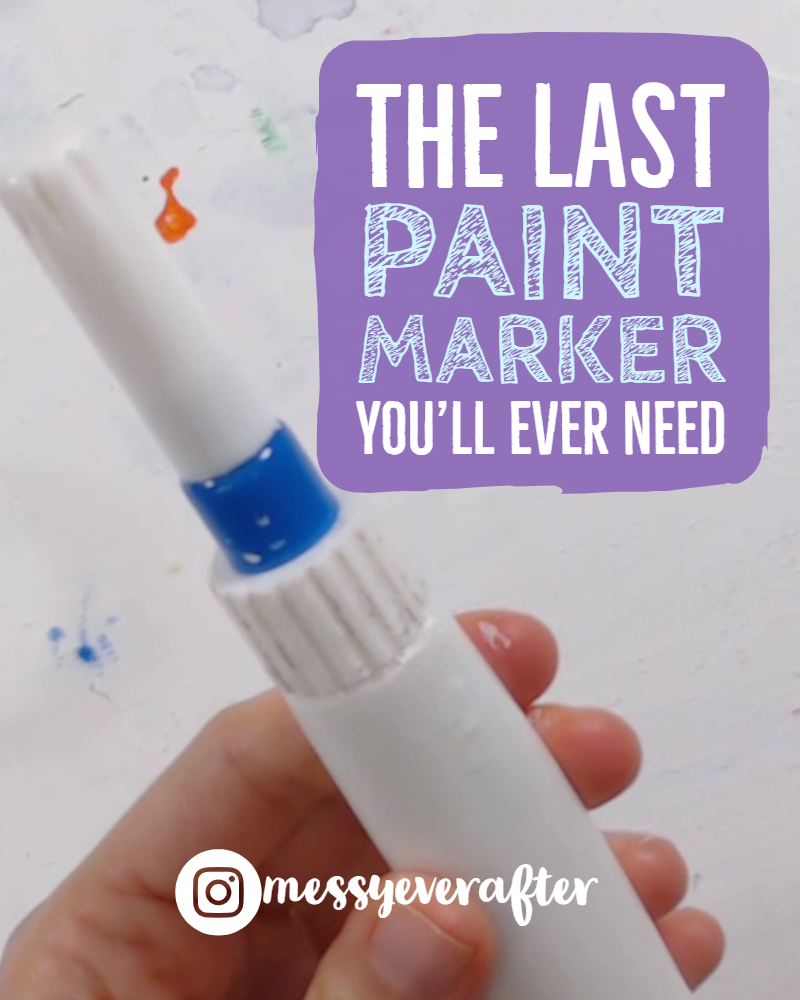
My Favorite Refillable Paint Marker for Fine Lines in my Art
Have you looked everywhere for a high-quality paint marker to use in your acrylic paintings? If you’re like me, you’ve tried every supposedly fine tip marker on the market and been frustrated almost every time. I’m very particular about my lines. I want smooth, clean, crisp, opaque, and consistent lines from my marker, and this product will forever be my favorite.
I’ve been using variations of this Fineline Applicator since January of 2017 and it is what I get asked about most often. My work has always been very illustrative, so finding a paint marker that didn’t run out half way through a painting or finding a tip that actually made clean fine lines was a struggle for years. Years, I tell you! I can’t fully express just how much I love this applicator.
I wrote another blog post a while ago that contains a variety of bottles I have used. You can read it here, but this new post will just highlight the one I use most often.
The Product I Use:
(The links provided in this post are affiliate links and I will earn a commission if you make a purchase. These commissions help fund the creation of more content like this at no additional cost to you. So thank you for supporting this site! Buy all the things 😉 )
- 1oz 20 Gauge Fineline Applicator
- UPDATE 7/1/2020: You can buy replacement tips for the bottles! (Read this post for details.)
The Blick option is technically cheaper if you buy enough to get free shipping on your order. Either way, getting 3 bottles for $10-$14 is so worth it. I’ve been using the same three 1oz bottles for over 18 months. How many paint markers do you go through in 18 months?
Why you may love this applicator as much as I do:
- You can fill it with any color you want.
- It’s refillable so you never have to worry about replacing paint markers ever again.
- You can control the flow and consistency of the paint.
- You can get super fine and opaque lines that very few paint markers can achieve.
- You can disassemble the tip and soak in water to clean it out.
Things that may frustrate you initially:
- It takes a little practice to get used to the metal tip and feel of the bottle.
- The tip can clog if you don’t use it enough or let the paint dry out (but you can clean it out by soaking it in hot soapy water and then shoving a thin wire through the tip.)
- You’ll need to fill the bottle with your own paint and it can be a little tricky to get the consistency right at first.
The Basics for Filling The Applicator:
I fill my bottles about half full with acrylic paint, and then add a little bit of water. I place my thumb over the top and shake the crap out of it. Then, I put the tip on and test the applicator on scratch paper/canvas to make sure it has a good consistency. The paint should flow easily, but not run all over the place. Keep adding water or paint and shaking until you get there.
Using a soft-bodied acrylic paint makes it easier to mix and reduce clumps. I personally use Blick Artists’ Acrylic for my applicator. It’s super smooth. You can use any kind of paint you want, but you’ll just have to play around with how much water you may need to mix it to the right consistency.
Tip #1
I have heard from my followers that the newer bottles have a longer metal tip that can be a little awkward to draw with. I have bottles with 1/2″ and 1″ tips, but you’ll likely get a 1″ tip. I assure you, both are awkward to draw with at first, and both can achieve smooth, clean lines. It just takes practice. BUT, the 1/2″ tips are my favorite and I finally researched replacement tips that you can buy to swap for a shorter tip, and even tips of different gauges.
Tip #2
If you are drawing on canvas, you may find the metal tip will “catch” on the texture of the canvas and cause uneven lines. This can be solved with practice by holding the tip further from the surface and using the edge of your hand to stabilize your movements.
Tip #3
If you watch some of my videos and wonder how on earth I get such long and smooth lines, you will find you can do this too by changing how you use your body when drawing. The trick is to keep your wrist rigid and use your whole arm/shoulder/torso to move the pen. I often will use my entire forearm against the canvas to stabilize the movement and then move my torso back to create the line. It feels weird at first, but if you’re working big it will help tremendously.
***
If you enjoyed this little product overview and want to learn more, let me know through Instagram or Email. Now go get messy and share your creation on Instagram using #messyeverafter!
-Kelly

