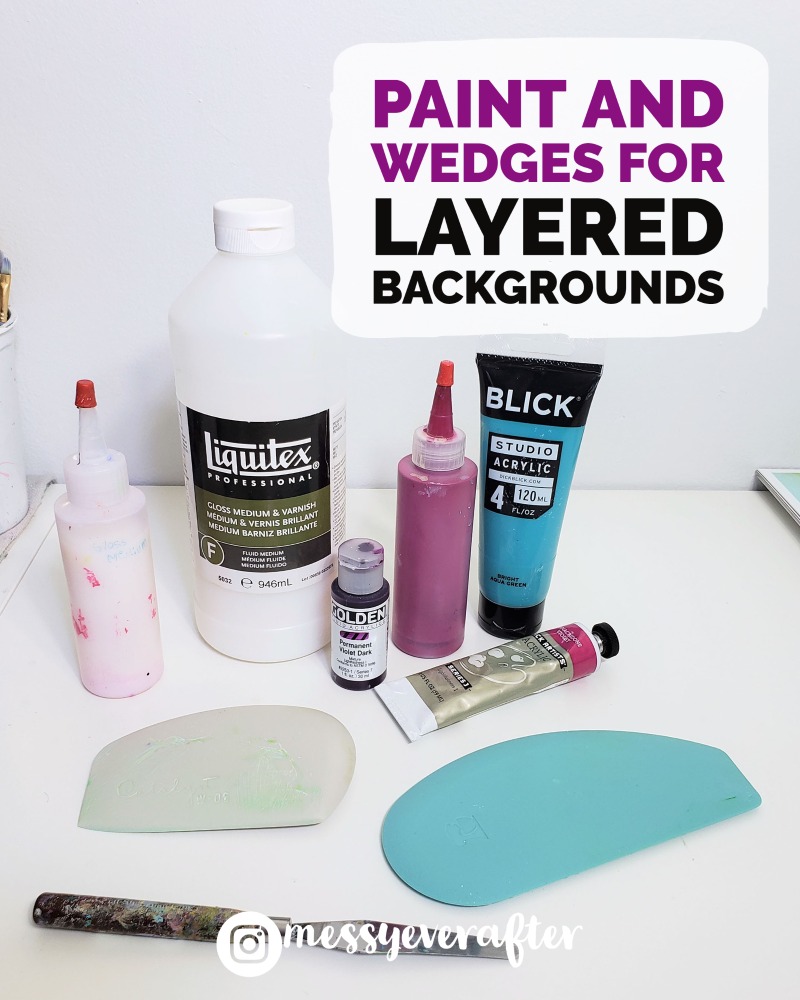
If you watch how I make my acrylic backgrounds on social media and have questions about the paints, mediums, and tools I use then this blog post is for you. If you also want to watch a YouTube video with a lot of this information plus the process of a piece being made from start to finish, go here.
*Links contained in this post are affiliate links for Amazon and/or Blick Art Materials and I will earn a commission if you make a purchase at no additional cost to you. These commissions help fund more content like this, so thank you!
The Process:
As you can see in the video above, I apply layers upon layers of color with a silicone scraper on my canvases to slowly build colorful dimension. I use two flexible scrapers to apply a variety of paints and mediums to create varying opacities. In this blog post, I will go over the scrapers and all the paint variations I use.
First, The Scrapers
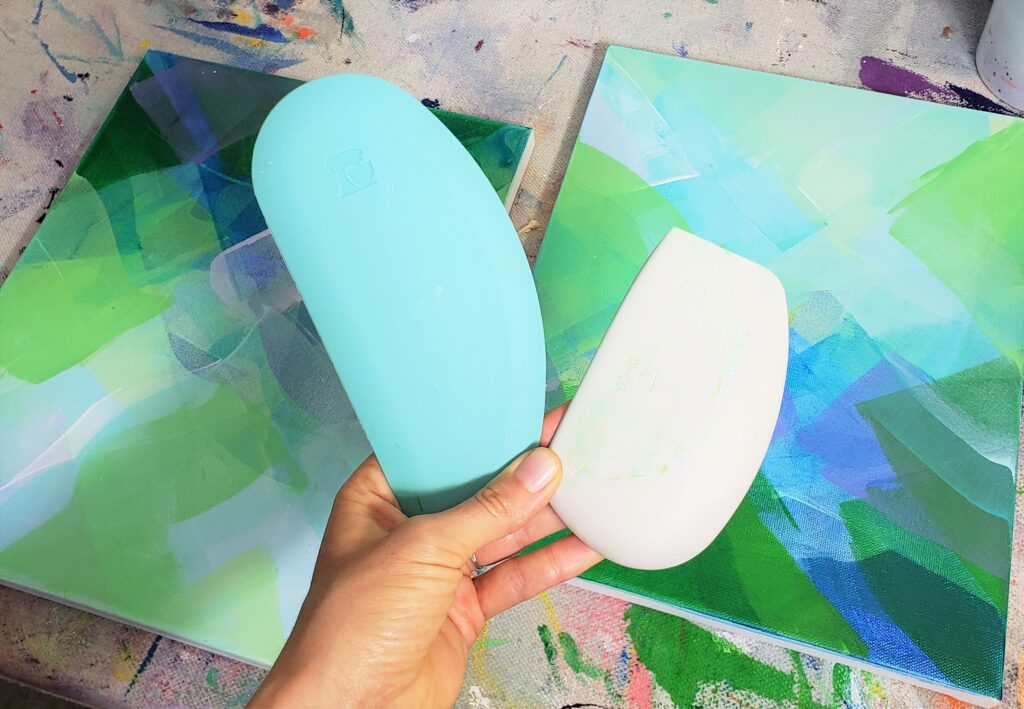
I use two scrapers. The off-white scraper in the photo has been my tried and true scraper for over 3 years now. It is soft silicone with a bit of flexibility and it works great to apply layers of paint. I have added a new scraper in the last couple of months that I found in the kitchen section at Target. (Always be on the lookout for unconventional supplies!)
My Scrapers:
- The Princeton Catalyst Wedge W-06 (Amazon or Blick Art Materials)
- Kitchenaid Gourmet Bowl Scraper- Aqua Sky (Amazon)
Each scraper feels a little different. I prefer the Kitchenaid scraper on bigger canvases. It doesn’t feel as heavy. You’re going to have to feel it out for yourself though. The Kitchenaid one is cheaper if that changes your decision at all.
Scraper Basics:
-Different pressures will create different effects. Push hard and your layers will be more translucent. Push down lightly and you’ll have more opaque layers. Harder pressure will also bring out the textures of the surface you work on. I like using stretched canvas (Blick Premier Canvas), but you can also use wood panels if you want a smoother application.
-I often mix paints right on the surface of the scraper with a palette knife.
-Clean your scrapers with water and a washcloth. Paint is pretty easy to remove, but it’s easier to wipe the scraper clean after each use. For hardened paint, I soak it in water and then scrape it off with a palette knife.
Paints and Mediums
I have experimented with a lot of paint over the years. Every paint has its pros and cons, but what I have paid the most attention to with my style is the opacity. Some paints have higher pigmentation. Some are very thick. Some paints are thinner. Professional-level paints will often be highly pigmented with a better range of coloring. Student/studio paints are cheaper, less pigmented, often thinner, and won’t hold as true to their color with time (low lightfastness).
There’s a whole bunch of nuance when it comes to paint and depending on your intention with art you might not need to know most of it. I’ll save more details for another post–maybe. Anyway, back to my paints and backgrounds.
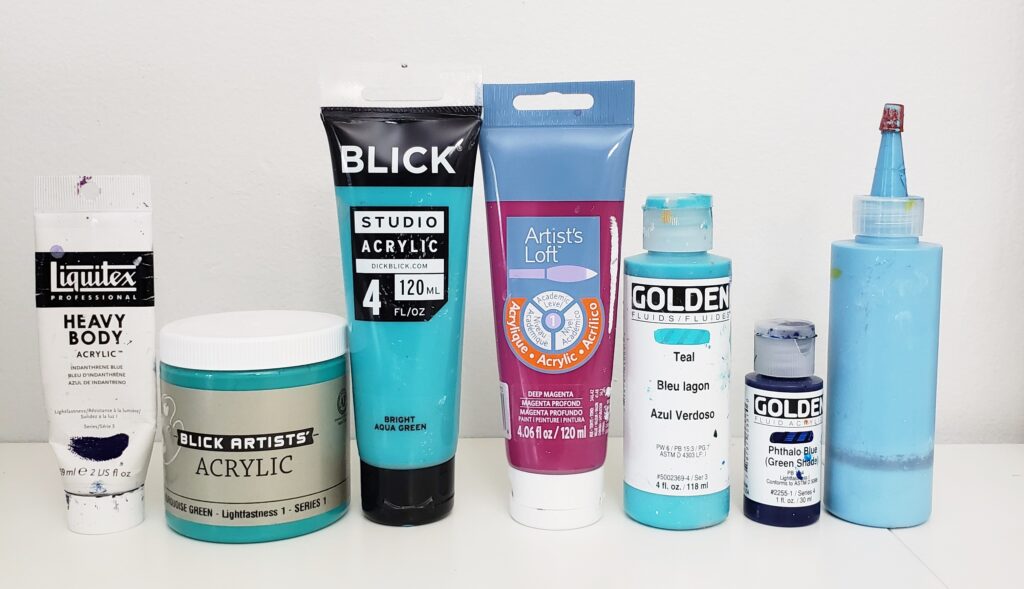
Paints I use as pictured above:
- Heavy body paint- Thicker consistency with high pigmentation. Liquitex Professionals (Amazon or Blick), Blick Artist Acrylics (Blick).
- Student/Studio Acrylics- Thinner consistency with lower pigmentation. Michaels Artist’s Loft, Blick Studio Acrylics (Blick)
- Golden Fluids (Amazon or Blick)- Thinner consistency with high pigmentation. I use as is or mix a little medium with it on the scraper. While watching my videos, you may see me put a dab of medium and a dab of paint on the scraper before I mix with a palette knife. I do this when I don’t have the color I want premixed in my small squeeze bottles.
- My Recipe- Squeeze bottle filled with 2 parts heavy body acrylic paint, 2 parts acrylic medium (see the mediums I use below), and 1 part water. This mixture is thinner like Golden Fluids, but has lower pigmentation. (This is what you will often see in my social media videos. You can get the squeeze bottles on Amazon.) You can also skip the water and just to 1:1 paint and medium.
Mediums:
Acrylic mediums extend the consistency of your paints without making them too runny. You can add water to your paints to get a higher viscosity, but you risk making the paint less stable. For example: Put a smear of heavy body paint on a table and let it dry. Then mix half heavy body paint and half water and let that dry on your table. The diluted paint will have a drastically different consistency. It’s easier to remove and the pigmentation can look grainy.
Mediums are a clear additive that will extend the body of the paint, and disperse the pigmentation throughout to create more translucent colors without losing the integrity of the paint consistency. If you have experimented with fluid pouring, you know the power of mediums over water. I used Floetrol (Amazon) for the longest time as a medium, and I still use it in some of my white fluid mixtures, but I have transitioned to mostly using Liquitex Gloss Medium & Varnish (Rebranded to Liquitex Gloss Medium).

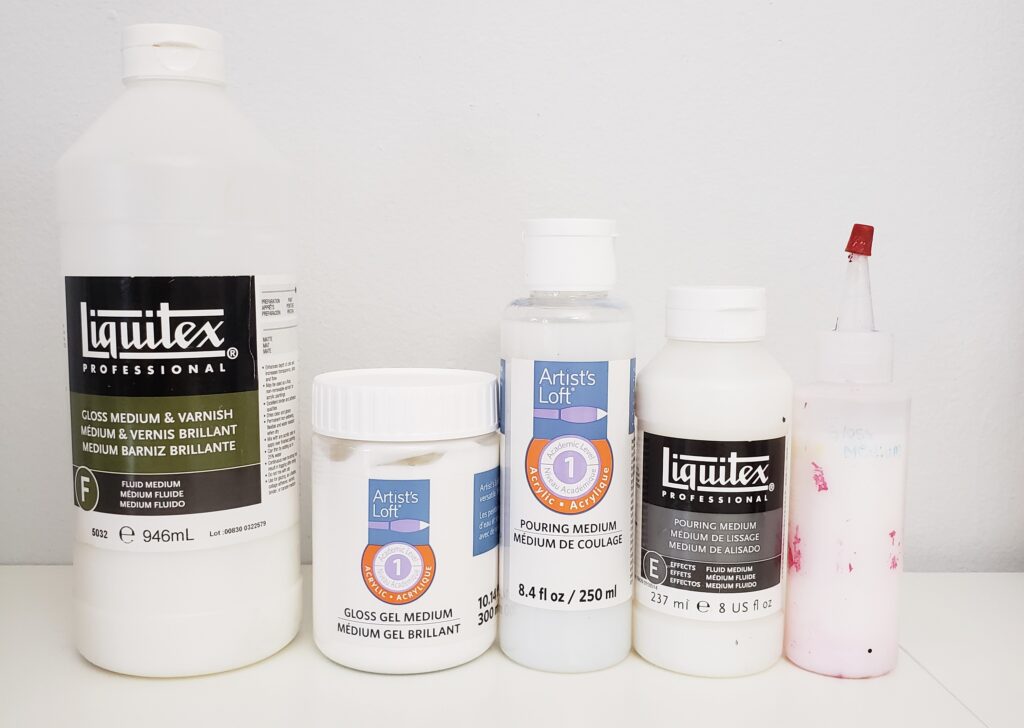
The mediums I use as pictured above:
- Liquitex Gloss Medium (Amazon or Blick Art Materials)
- Artist’s Loft Gel Medium
- Artist’s Loft Pouring Medium
- Liquitex Pouring Medium (Amazon or Blick Art Materials)
- Squeeze Bottle filled with Liquitex Gloss Medium (You can get the squeeze bottles on Amazon.)
To illustrate how mediums change the paint opacity, see the photo below. First, I applied Michaels Artist’s Loft paint on its own, then mixed it with Gloss Gel Medium, and then Pouring Medium.
A lot of mediums will create a pretty similar shift in opacity. You don’t need to have a crap ton of mediums. It’s all personal preference. You might like the first one you try.
The Formula for my backgrounds
Alright, now you know the scrapers, the paints, and the mediums I use. What do you do with it now? Every piece I create according to this style has a pretty consistent formula. If you try this, I’m sure you will find your own method for applying color. Do what feels right. But, here is how I do it:
- Base layer- I use colored heavy body paints mixed with white to lay out my colors. I keep this layer light to mid-tone. I’m using a brush for this layer. Let dry.
- Saturated sections- Now I use heavy body paints alone at the center of the application and then mix with white or my white fluid mixture on the edges to blend with the first layer. This layer is to establish where my darkest colors will be. I’m still using a brush here.
- Saturated sections with scraper- Once the base layers dry, I come in with the scraper to apply more heavy body paint to increase saturation and contrast while creating organic movements with the scraper. Golden Fluid Acrylics with light pressure are also great here.
- Layers 4-600: From here on, I’m applying thinner, more transparent layers as I go. If I overwork an area with too many translucent layers, I’ll bring in a heavier-bodied layer to flatten the dimension. If I need to smooth out a section, I’ll come in with a sort of “white wash”. Feel it out. Your eye will want something different from mine. This process becomes very intuitive toward the end as you near your definition of completion.
Once I am done with my background, that’s when I will come in with my Fineline applicator and start to organize the colorful chaos.
***
And there you go!
Take this style and run with it. Try what I do, and evolve it to make it your own if you’re hoping to sell your work in the future. If you’re a hobby painter, then just have fun with it and maybe watch this YouTube video tutorial.
Let me know if you have questions! If you enjoy learning about the supplies I use in the studio and want to know more, let me know through Instagram or Email.
-Kelly
Thank you! I love your style and I always look for inspiration for my hobbies in all kinds of different mediums. <3
Thank you so much, Lina!