
Posting Videos on Social Media to Grow Your Art Following is a Must
I love watching art time-lapse and process videos. They are mesmerizing and make things look so easy. When I first started recording my art process in 2017, I struggled quite a bit. I thought I needed to use a fancy camera and my DSLR would stop recording after 11 minutes due to file size limits. I’d have to stop working, restart the camera, and repeat.
Then, once I was all finished, I uploaded the clips, pieced them together, and found out my lighting sucked. If you read my previous post about how to photograph your art on a budget, you already know how important lighting is. I learned my lessons the hard way. After some time, I found a simple and budget-friendly video set up that works for me.
*Links in this post are affiliate links and I will earn a commission at no additional cost to you. (Yay! Thanks for supporting the creation of this content!)
My Recording Set Up (Pre-2018)
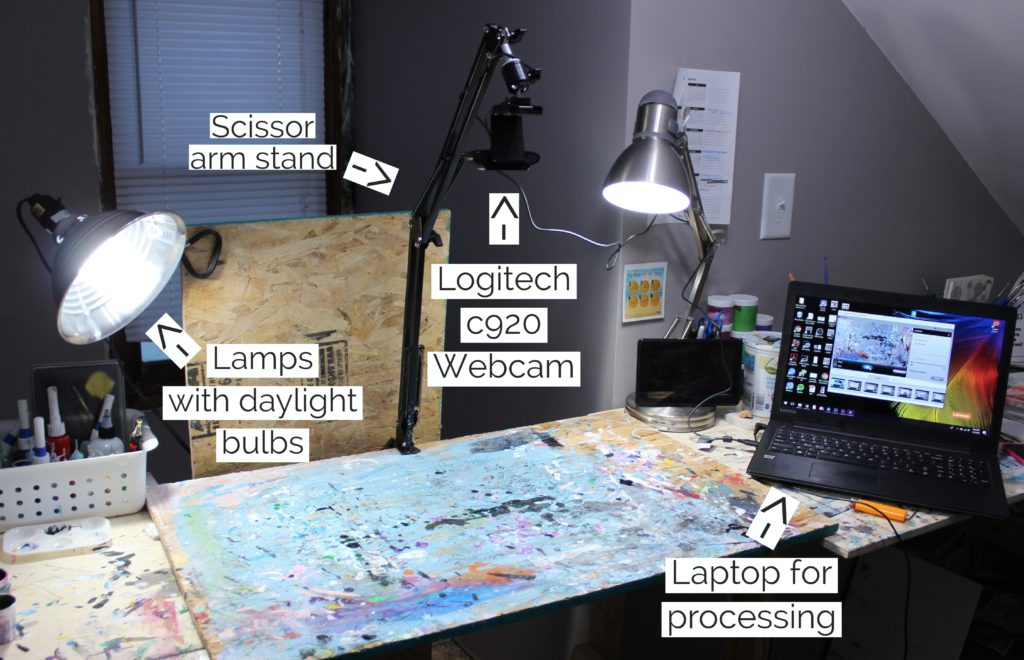
Looking back a the messiness of this recording area makes me happy. It was so unpolished, but it got the work done. Recording videos doesn’t need to be expensive. I’ve ditched my DSLR and actually use my smartphone or a webcam to record most of my videos.
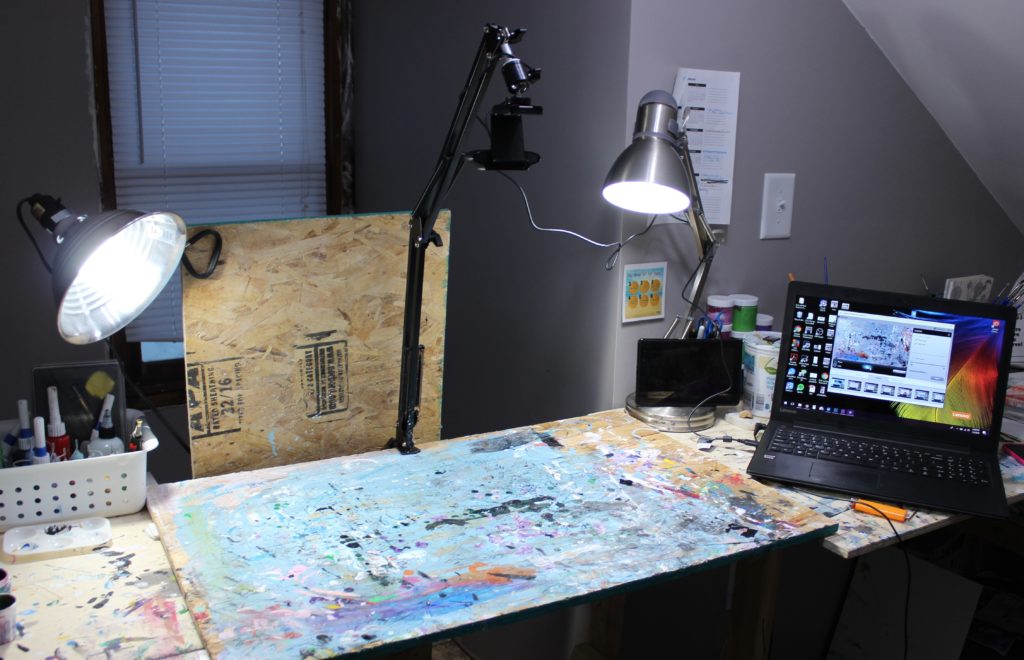
No matter how you record, make sure to have two or three lamps with daylight bulbs on your work. Or work in a room with a lot of windows. Yes, if you use programs like Premier Pro, you can adjust brightness while editing, but it’s much easier and more attractive to have the lighting nailed down while filming. Here are three ways I record videos:
1. Quick and Easy Art Time-Lapse Videos for Instagram
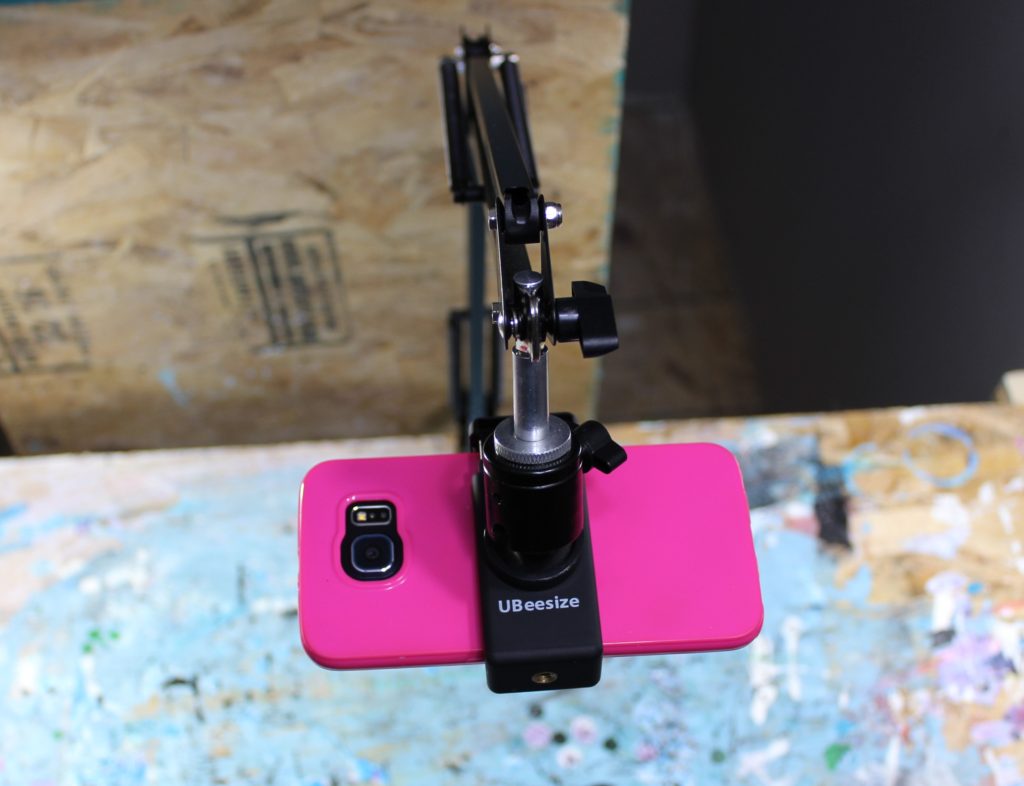
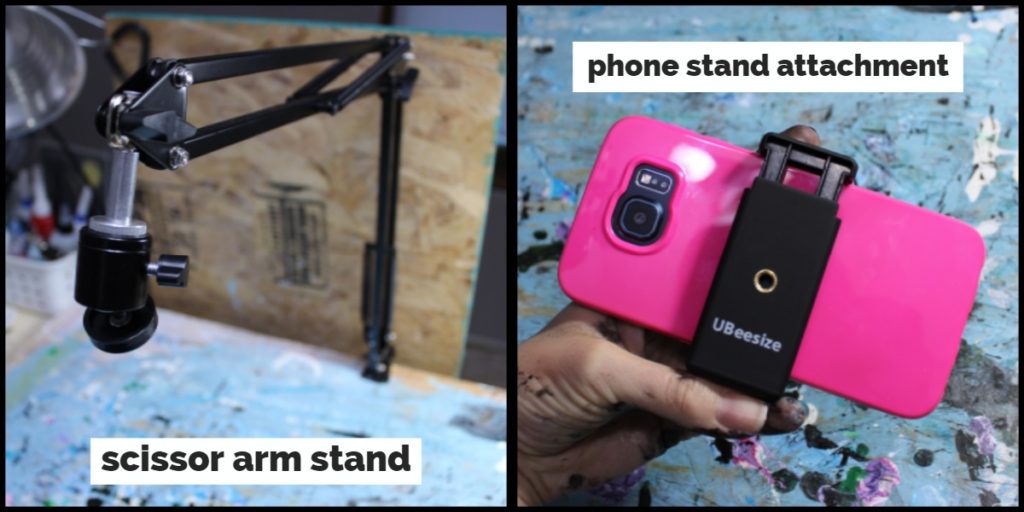
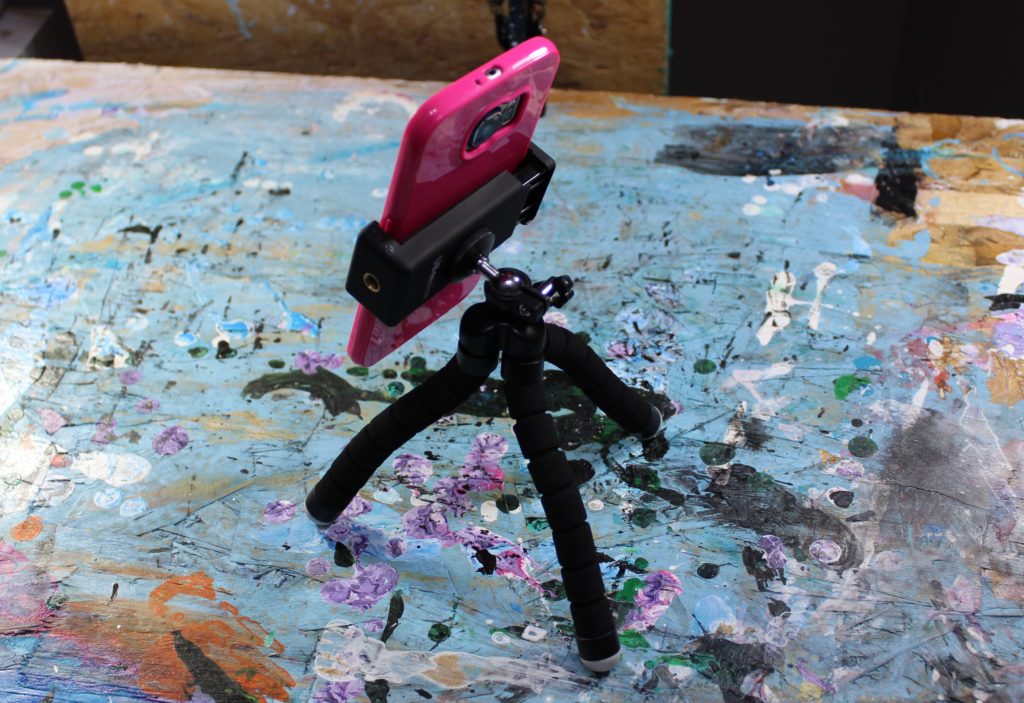
A lot of my little Instagram videos are recorded and edited with my phone. I used to awkwardly set my phone on top of things to record until I ordered the setup pictured above. My life is much easier now thanks to a scissor arm attached to my desk.
Equipment Needed:
- Scissor arm tripod stand: https://amzn.to/3ToQMMy (This one comes with the phone holder attachment. I had to use two different products and piece them together before.)
- Smartphone (I use my Samsung Galaxy S6)
With this setup, you can turn the phone to film vertically or horizontally to match whatever platform you are posting to.
Editing:
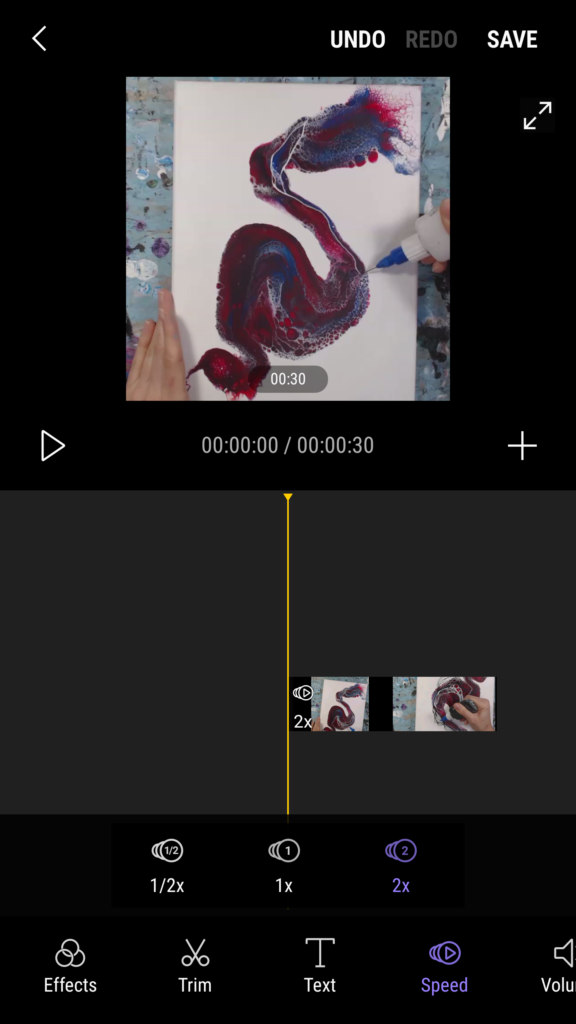
I use the Movie Maker app that came loaded on my phone to speed things up and trim the video. It’s annoyingly limited in that I can only speed the clip by 2X. I usually speed up the clip, mute it, save it. Open that video, speed it up, save. Repeat until the final clip is under a minute long.
Once the final clip is saved, I delete all of the other videos to free up the space on my phone.
(Update: I feel silly for not already doing this, but @indigoimpressions informed me of a different app to use: Microsoft Hyperlapse Mobile. Seriously. I’m all about shortcuts and making life easy, yet somehow I stuck with my tedious way of saving videos. SMH.)
2. Close-up Art Videos for Instagram
When I’m doing close-up shots of my detail work, I use the little tripod from Amazon. It’s bendy and can easily be angled in a bunch of different ways. For editing, I still use the phone app.
3. Longer Art Videos for YouTube or Instagram
Since a lot of my detailing can take me a while, my phone didn’t have enough memory to handle the larger video files. I recently bought a webcam to use for streaming, and decided to try it out for recording. Turns out, it works really well!
For this setup, I use the same scissor-arm tripod and attach the webcam to it.

Equipment:
- Logitech HD Pro Webcam C920, Widescreen Video Calling and Recording, 1080p Camera, Desktop or Laptop Webcam
: Amazon https://amzn.to/3fP977C
- Logitech Webcam Software
- Computer with USB port
- Video editing software like Adobe Premiere Pro or Filmora. I had used Windows Movie Maker in the past, but newer versions of Windows don’t support that program–which is a bummer because I love free things.
Recording:
You’ll need to download the webcam software to be able to record and save videos onto your computer. I love being able to control the entire process from my laptop. It makes it much easier for me when I start editing as well.
Editing:
Since I have been making longer videos with music and more extensive editing, I use Adobe Premier Pro for these. I love this program, but it does come with a fee. I actually have the whole Adobe Creative Cloud because I use Photoshop and Adobe Express regularly.
***
Those are all of the ways I currently film my art. If you are thinking about making videos, I really encourage you to do so. They are great for exposure, and it’s pretty fun to watch the end product!
Please leave questions and comments below while commenting is open or reach out to me directly through Instagram or email. I’d love to hear from you! Make sure to sign up for my email list below to never miss a blog post.
-Kelly
P.S. You probably know by now that I am here to help artists with these posts. If you need help with your online branding, Instagram account, or just want a creative accountability coach, then check out my consulting services. You can easily add a session to my online calendar now.