What I use to Photograph, Edit, and Print From Home
Before I bought my printer, I had been researching how to make fine art prints of my work for months. I wanted to start offering lower-priced products to my customers, but I didn’t want to just send images off to a company and cross my fingers that they turn out just the way I intend. So, I chose to make prints myself.
Fair warning: Making quality prints is not cheap. And making quality prints from home is not cheap either. You need quite a bit of equipment, paper, software, and a lot of patience.
*Links in this post are affiliate links. I earn a commission if you buy things. Woo! Or, if you want to shop my print collection go here.
The Basics
Fine art/giclée/archival prints are made using pigment-based inks on acid-free paper. They withstand the test of time much better than dye-based inks and acidic papers which degrade and fade more easily. Sunlight and gases in the atmosphere cause inks to fade and papers to yellow. Archival prints aren’t impervious to this, but they last much longer. Especially when displayed behind glass or in a closed album.
From my research, pigment-based prints can last nearly 100 years in optimal conditions whereas dye-based prints may only last 30 or less. I once used a dye-based drawing ink on one of my canvases and the color faded dramatically over the course of 4 years on my wall. Not cool.
So, pigment=good and dye=bad. Oh, and acid=bad.
What you’ll need to make fine art prints from home:
- Art. (You probably have that covered!)
- Camera or scanner to capture a high-resolution image of your art. (I use a Canon Rebel T3i which is discontinued but this is an alternative.)
- Update Aug 2022: Now I use the Canon SL2)
- A computer with a good monitor for displaying correct colors. (I didn’t have a nice monitor so I bought this one. Try calibrating your existing monitor.)
- Photo editing software. (I use Photoshop.)
- A pigment-based inkjet printer. (I decided on the Canon Pixma Pro 10)
- Back-up inks (I’m sticking to the Canon brand.)
- A guillotine paper cutter if you want to make custom sizes.
- Acid-free paper. (I have tried Canon Luster and Premium Matte.)
- Backing board
- Plastic bags for protection.
- Mat board (It’s a personal preference. I don’t waste my time with it right now.)
My Printer of Choice:
Canon Pixma Pro 10 (Roughly $450-$600)
I wanted to find an inkjet printer with pigment-based inks that wouldn’t make me poor. When I say I researched printers for months, what I really mean is that I hovered over the ‘Buy Now’ button for months after finally deciding this was the printer I wanted. I also tried emailing Canon and pulling the “Hey I have a bunch of Instagram followers, want to give me a printer for free?”
I’m still waiting for a response…
The Pixma Pro 10 uses pigment-based inks. Don’t be fooled by the lower price tag on the Pro 100. It uses dye-based inks. Your prints will probably still look great, but they won’t be considered ‘archival’. (Read this if you want a side-by-side comparison of the Pro 100 vs. Pro 10)
After getting the hang of this printer (I’ll go over my brief mental breakdown in a bit.), I’m really happy with how it performs. I recommend going over the specs for the printer to get the basic info, I did learn some additional things that may help you in your decision-making.
Things I’ve learned about this printer:
- Printed images look more saturated and darker than the image file. You’ll have to tweak your file and monitor settings to account for this.
- The print head runs a cleaning cycle every 60 hours which can waste ink. You’ll want to print every couple of days to avoid that. I don’t know how much ink is wasted, but it’s a common complaint online. It does another one at 45 days. Pretty much don’t buy it unless you plan on using it multiple times a week to avoid ink issues (including clogging).
- Aug 2022 Update: I have had this printer for roughly 4 years now and I don’t use it as often as I recommend. I can go weeks and weeks without printing and I have yet to run into a clog or printer head issues. But, ink is definitely wasted during these cleaning cycles…
- Depending on what program you print from, prints from the same file can look different. I’ve had the best luck and consistency with using Canon software. I use Digital Photo Professional 4 and print with the Print Studio Pro plugin. You can get these programs from Canon’s website and the installation disc that comes with the printer.
- Paper choice is really really important. Depending on what your art looks like, certain papers won’t work for you.
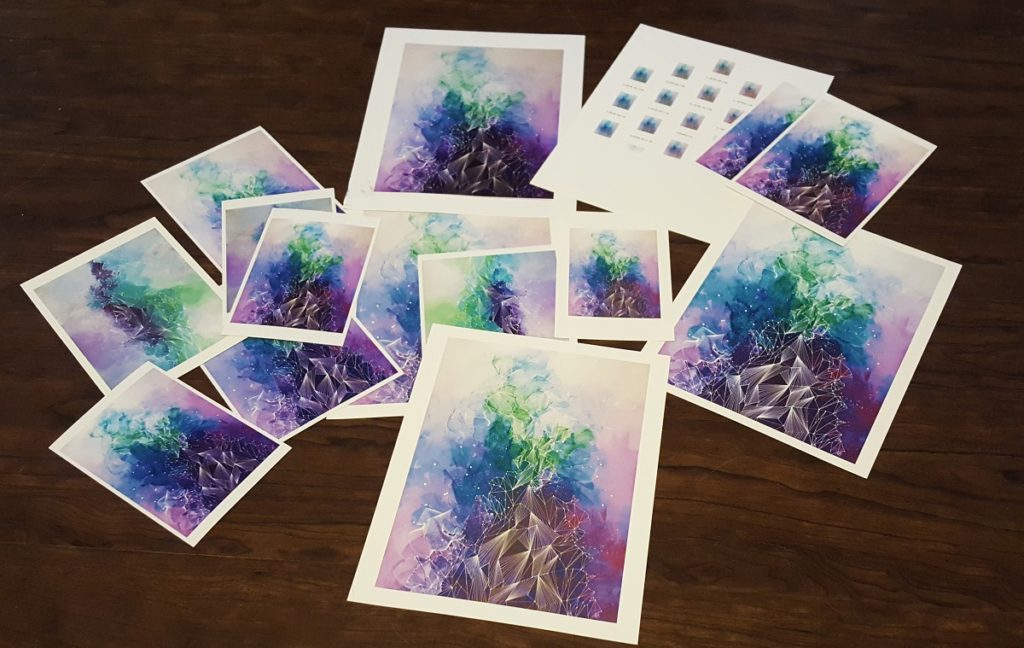
- It’s slow. It took me a few hours to print my first batch of 50. (August 2022 Update: I tend to run batches of about 20 prints now given my preference for very limited prints.)
- You need a lot of space to lay your prints out to dry before stacking them. Pages shouldn’t overlap for at least 15 minutes and should have clean paper between them once stacked.
- You’re going to go through more ink than you’re probably comfortable with. (Read this for estimated costs for printing on the Canon Pixma Pro 10.)
Image Capture and Editing
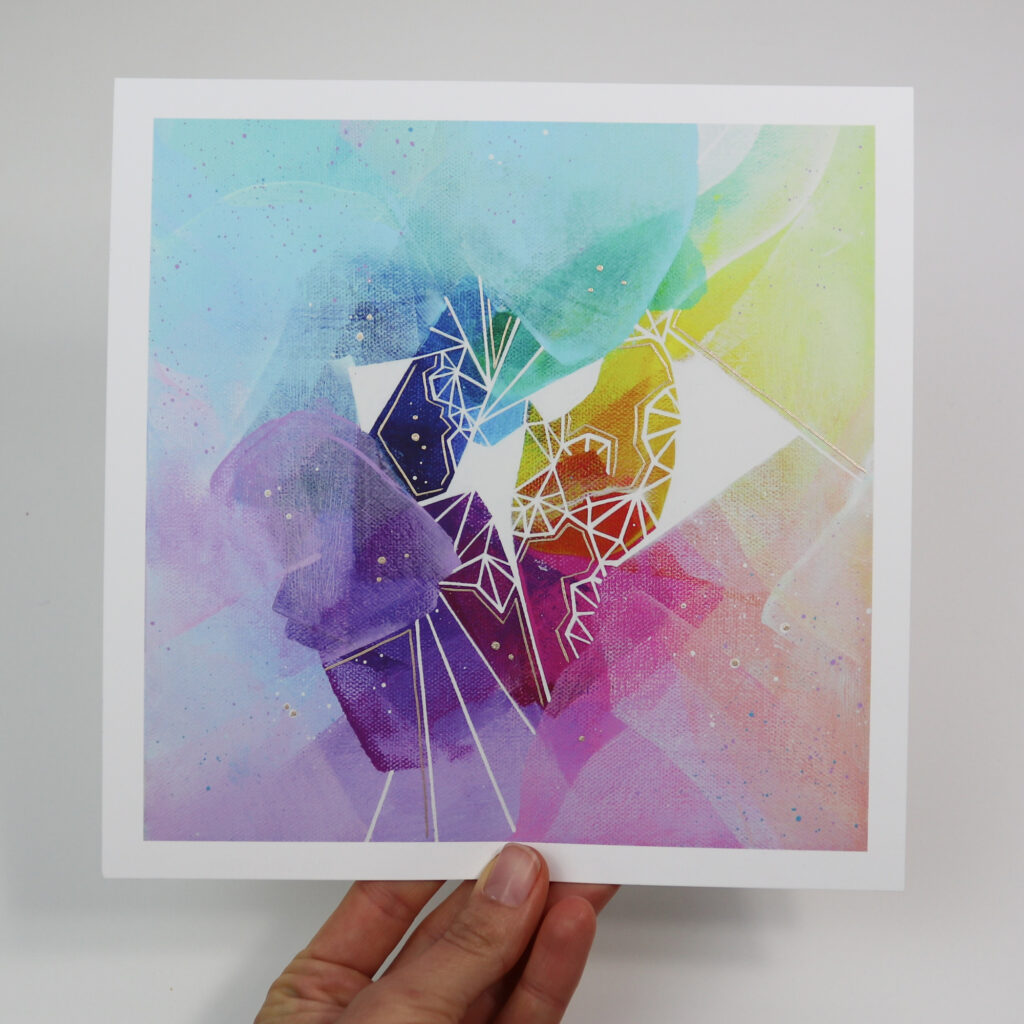
Since I’m mainly making prints of my larger canvases, I use my DSLR camera as opposed to a scanner to capture a well-lit photo (use daylight bulbs or natural light), and then I color correct and crop in Photoshop. If you create smaller works of art, you can try using a scanner.
You need to get the biggest, highest resolution image you can depending on the size of prints you want to make. I chose to use 11″x14″ as my largest print size so my DSLR camera works just fine. (This printer can go as large as 13″x19″.) If you are using a scanner, scan at 300dpi or more.

Obviously when editing the goal is to get your image file to look as close to the original work of art as possible, but with the over-saturation of the inks from this printer, you’ll likely have to make your image brighter than you’re comfortable with while editing. This is why proofing is so important.
Proofing
Get ready to waste some paper and ink. Once you edit your image, you’ll want to print to see how it looks. Even if your image looks great on your RBG monitor, it’s not going to translate exactly to CMYK inks. So, print and tweak. Print and tweak. The more you get used to your photo editing software and printer, the less proofing you’ll need to do.
Even then, your prints might not look exactly like your work of art. I was beating my head against a wall trying to get a 100% match, sometimes you have to settle with near-perfect.
Given my level of perfectionism with editing, I didn’t want to trust sending my images to a professional printer. I had no idea what my edited file would look like on their printers. If I needed to color correct, the process would take forever and printers often charge for each proof they send you. Control issues. I have them.
Proofing Tips (August 2022 Update):
Happily, my proofing process is less painful after years of doing it and I usually get to my final image after three proofs.
- Proof with small scraps: I buy the full 13″x19″ packages of paper and then cut them down to my preferred size. This means I have loads of scraps that I cut down to 5″x7″ and 4″x6″ proofing paper.
- Save different files for each paper type you use for future runs: I noticed a lot of differences between matte and gloss paper proofs and would need to over-saturate the matte paper files to get closer to my original art. Saving your files with the paper type in the name reduces future headaches. (More on this below…)
Paper Choices and My Mini Mental Breakdown
Not only do printed images look different depending on the program you print from, but they also look different depending on what paper you use. When I sat down to do my first print run I thought I had a file that would work and the appropriate paper to print on. I wanted to use matte paper because gloss paper has always annoyed me.
It turns out matte paper is terrible for highly detailed pieces with deep colors. I read this while researching, but I didn’t realize just how accurate the information was so I ignored it. Inks diffuse through matte paper a little more so all of my fine line details ended up looking fuzzy. Also, my deep purples and blues looked a little blah. The more I printed and color corrected, the more hopeless I felt. Add that to the default over-saturation of inks from the printer and inconsistent image quality depending on the program I printed from and you get a defeated artist who just spent over $800 for crappy prints. Yes, I was catastrophizing and being a bit melodramatic.
Moral of the story, choose the right paper for your art. With my fine line details and a plethora of deep colors, matte paper can be the worst choice for me. Thus, I ordered Luster (semi-gloss) paper. Get sample packs and figure out what paper your art looks best on. You may end up having to spend $1 to $5 per piece of paper, but the right paper is worth it. (Check out Red River for great advice on printers and papers.)
Note: Some archivists and galleries get picky over acid-free papers that use optical brighteners as it’s another element of the print that can break down over time. Your average customer probably won’t care, but it’s another thing to consider while paper shopping.
After I figured out the right software to use, the appropriate settings to tweak in Photoshop to compensate for the over-saturation of the printer, and what paper was right for the images I was reproducing I was a happy little camper.

Packaging
Once everything is printed, and you let the ink dry for the recommended 24 hours, you can put them in plastic sleeves with backing and prepare to sell. Yay! You can find most of the products I use to package my prints (sleeves, backing board) on my Amazon page here.
(Questions about shipping your work? Read this.)
Numbered Prints, Signatures, and Limited Editions
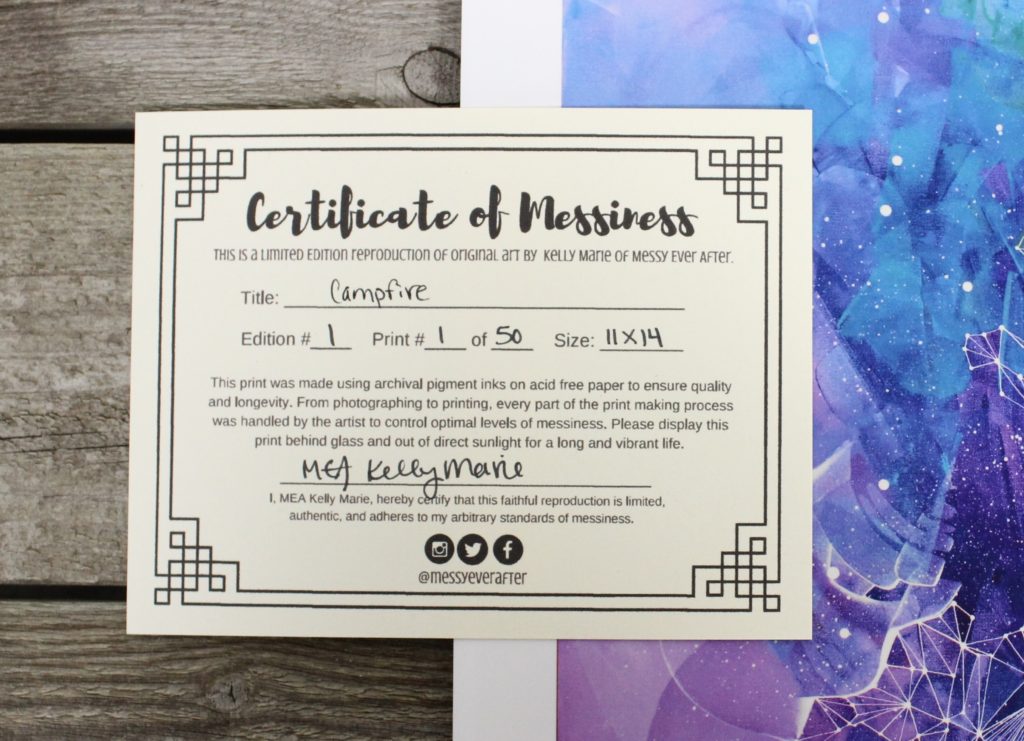
I’m dorky and include my new “Certificate of Messiness” with my prints and originals for that extra bit of branding flair. I also sign and number the back of the print.
I am only doing limited edition numbered prints. In the fine art world, this is preferred. Personally, I think it’s to keep the allure of exclusivity and elitism, which drives the value of art up. As a businesswoman, this is a great way to make more money. So yeah, sign me up. Plus, I get tired of looking at my art and I don’t want to print the same thing over and over again.
If you want to make 10,000+ open edition prints of one of your pieces, go for it. If you want to make a limited run of 50 prints of one piece and take the time to sign and number each one, that’s cool too. Just keep in mind how your choices will affect the value of your work in the long run and what’s right for your brand.
How much did this cost me?
Paper, ink, printer, backing board, and plastic sleeves have me at about $1000 investment. So far I have printed a total of 50 sell-able prints which if sold at full price will gross roughly $1750. I still have enough paper and ink to create 50-150 more prints without investing anything more. The math shows that this is a worthwhile endeavor.
The real question is how quickly can I realistically sell the inventory I am creating. It’s the same with creating original pieces of art. Just because you offer a product, doesn’t mean it will sell.
You could go the cheaper route.
Don’t have $1000 lying around? You could get a dye-based setup for a little less. Though, it’s only going to save a couple hundred.
Maybe you don’t care about archival quality. Maybe you don’t need your prints to last a lifetime. If this is the case, then you can certainly go with a dye-based printer. Just factor this into your pricing and sales pitch.
You could also use the dye-based printer for greeting cards and other products that aren’t meant to be long-lasting.
You can pay other people to handle everything for you.
If you are not a hands-on person and don’t want to mess with everything I just described above, then you can find a local printer in your area who will take care of all of it. There are people who will photograph or scan your work, color correct, and print. Just depends on how much money you’re willing to spend.
You can also edit an image yourself and give it to a printer to save money. A local print shop gave me a $330 quote for 40 -11″x14″ pigment prints. Having a professional print my work at this price would have been cheaper initially, but again, I didn’t want to give up control of the process, and once I use my printer more my cost per print will go down.
If you choose to outsource, ask a lot of questions and make sure you are getting the quality you want.
Should You Make Prints?
I’m going to strongly caution you against jumping into prints unless you have the ability to sell them now. Are you constantly being asked for prints or are you selling originals too quickly to keep up with the demand? Are you doing a lot of events where prints could be a quick impulse buy?
If you only have a couple of hundred followers, primarily sell online, and you struggle to sell your originals, don’t invest in the supplies to make prints. Back in 2010, I had a huge batch of prints made when I started doing art fairs. After three fairs, life got in the way and I had a bunch of inventory that I carried around for years. I kid you not, I threw the last of them in the trash before moving to California at the end of June of 2018. Good riddance.
If you are still developing your style and branding, I also suggest waiting to make prints. If you are having a hard time selling your art now (read this) and there isn’t a demand for prints of your work then I still suggest waiting.
You can most definitely ignore my advice and give it a go if you are determined. The 2010 version of my would have been like “You know nothing! I’m going to make this work!” She was so feisty. I just want to pat her on the noggin and give that poor girl a hug.
Ultimately, only you know what is right for your business, but if you ever want to discuss your options with a fellow artist, I am always happy to offer my consulting services.
(Learn how to make hand embellished prints here.)
***
At first, I was excited about my printer. Then I hated it. I ate some sadness ice cream. Called Canon customer support to ask if their matte paper is supposed to look like crap. And now I love my printer and all the little print babies that pop out of it.
There is a learning curve with every new thing you jump into. Do your research and find an option that is right for you.
As I write this, I am printing a new batch of 11″x14″ prints. Each one is just as perfect as the last–but I’m also burning through ink as fast as I shoveled that sadness ice cream in my face…so there’s that.
Please leave questions and comments below while commenting is open or reach out to me directly through Instagram or email. I’d love to hear from you! Make sure to sign up for my email list below to never miss a blog post.
-Kelly
P.S. You probably know by now that I am here to help artists with these posts. If you need help with your online branding, Instagram account, or just want a creative accountability coach, then check out my consulting services. You can easily add a session to my online calendar now.
***